How Do I mount an ID Plate?
Installing the ID Plate will depend on which collar you have:
1″ and 1.5″ Summit Collars
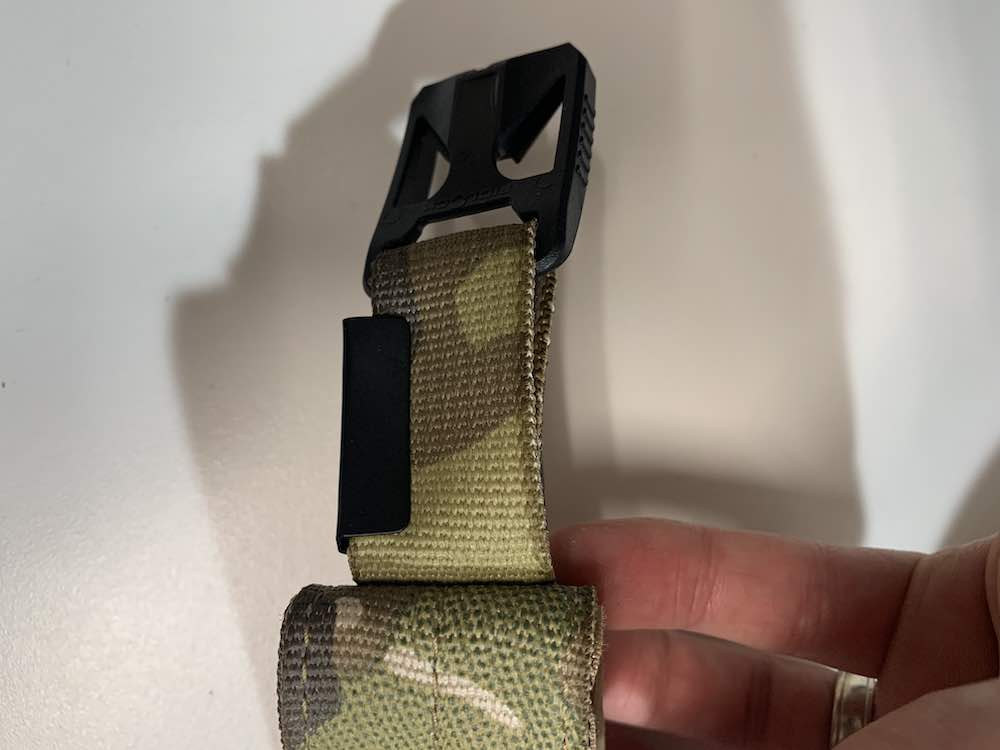
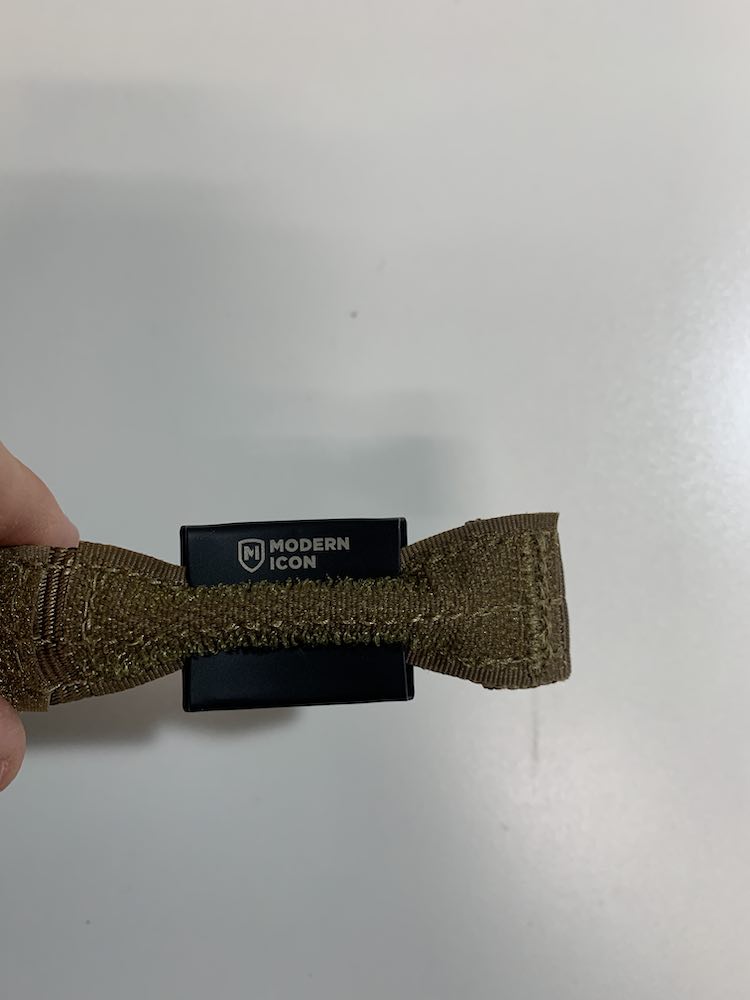
For 1″ and 1.5″ Summit Collars the process will basically be the same. The default recommended spot to mount the plate is to the left of the buckle as seen here:
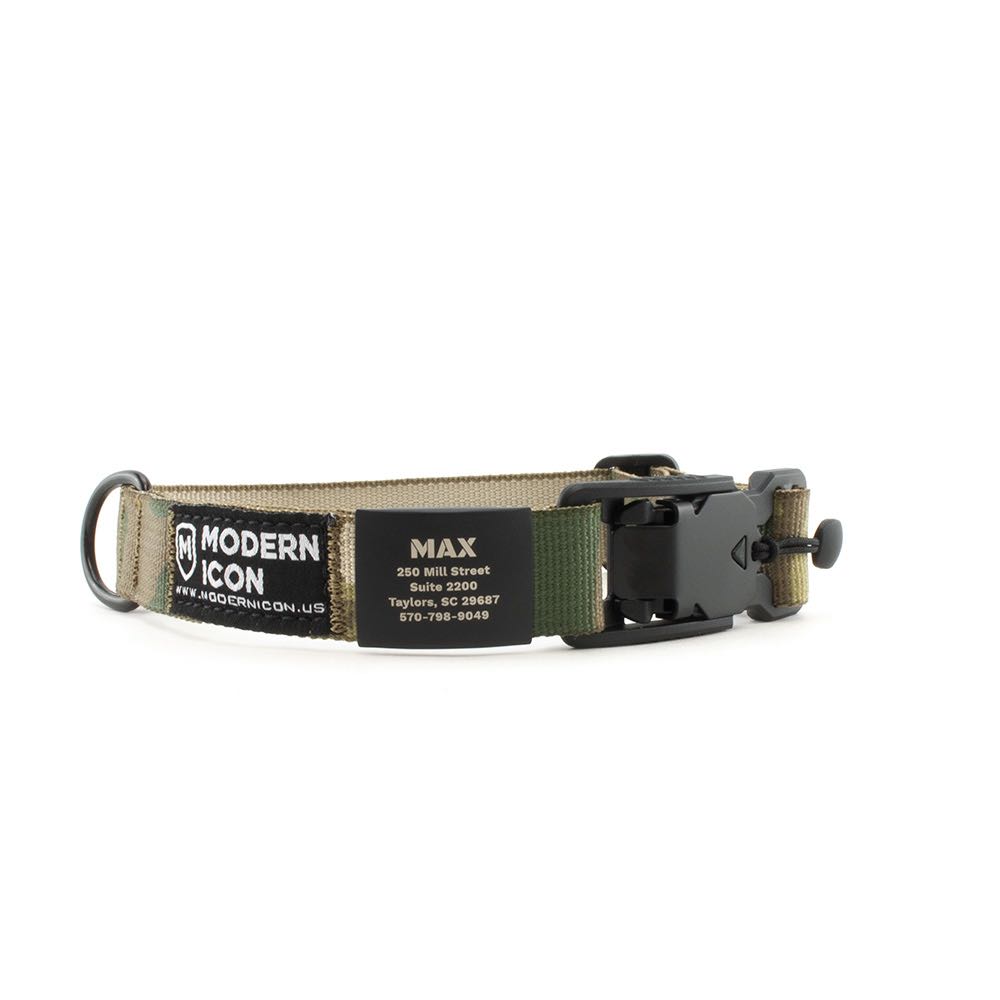
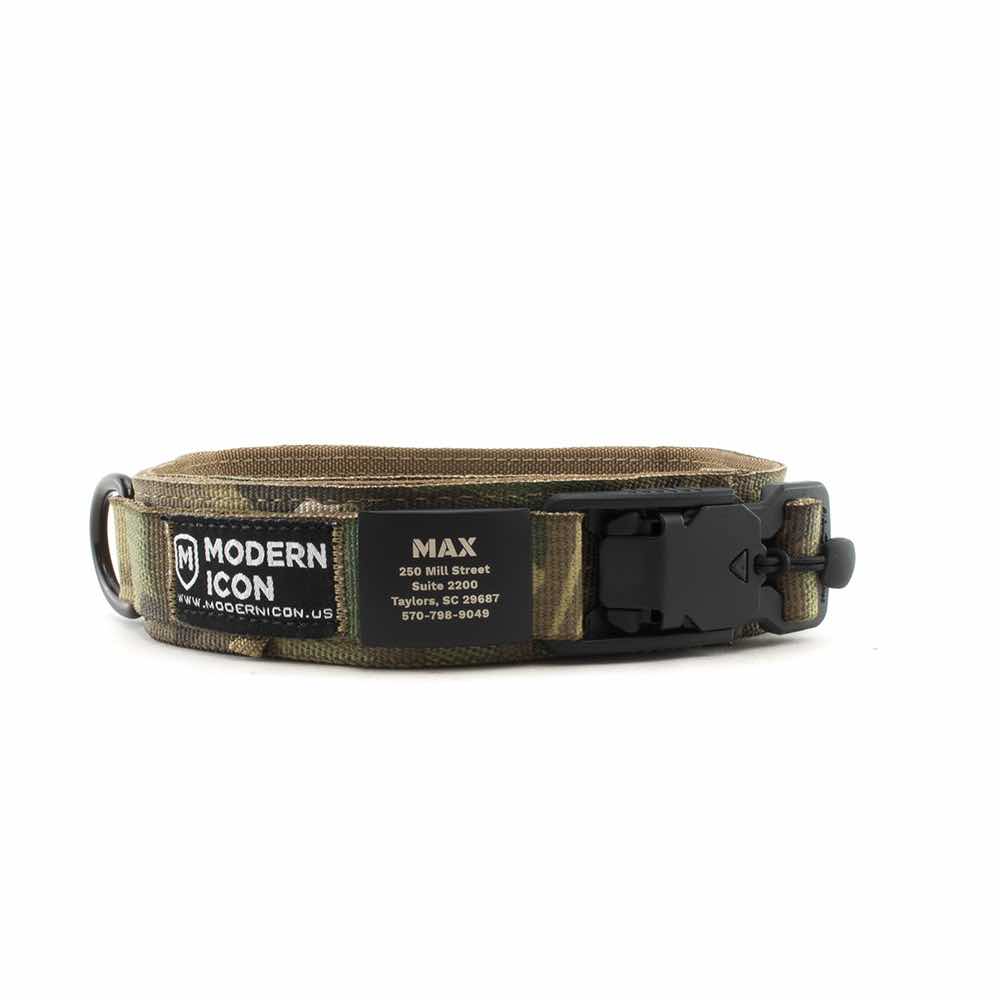
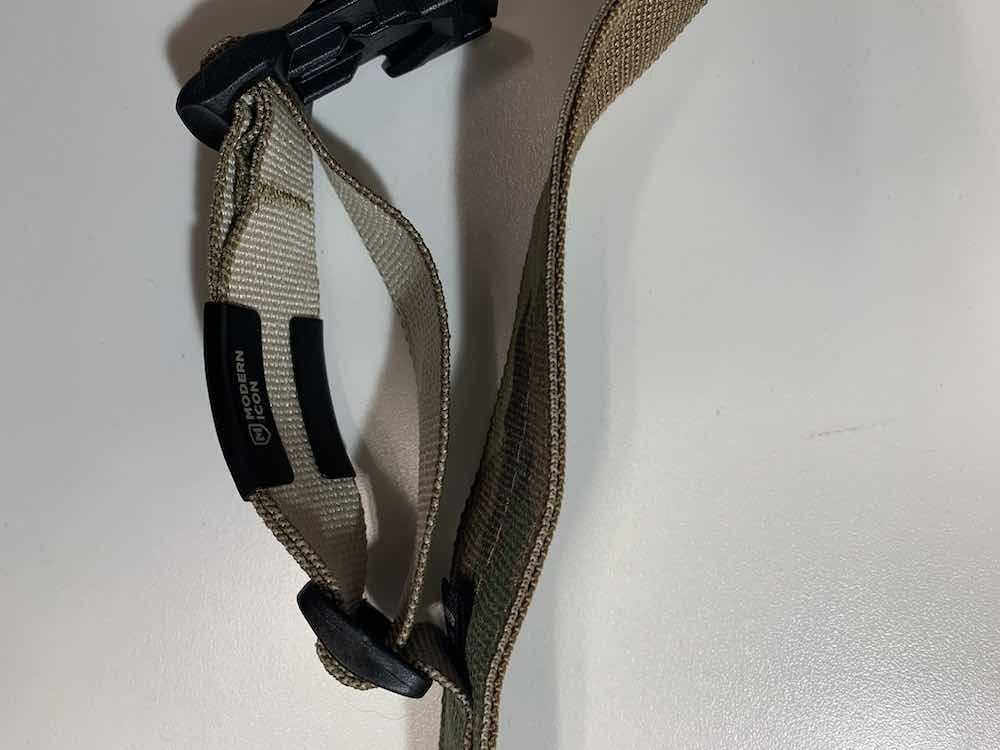
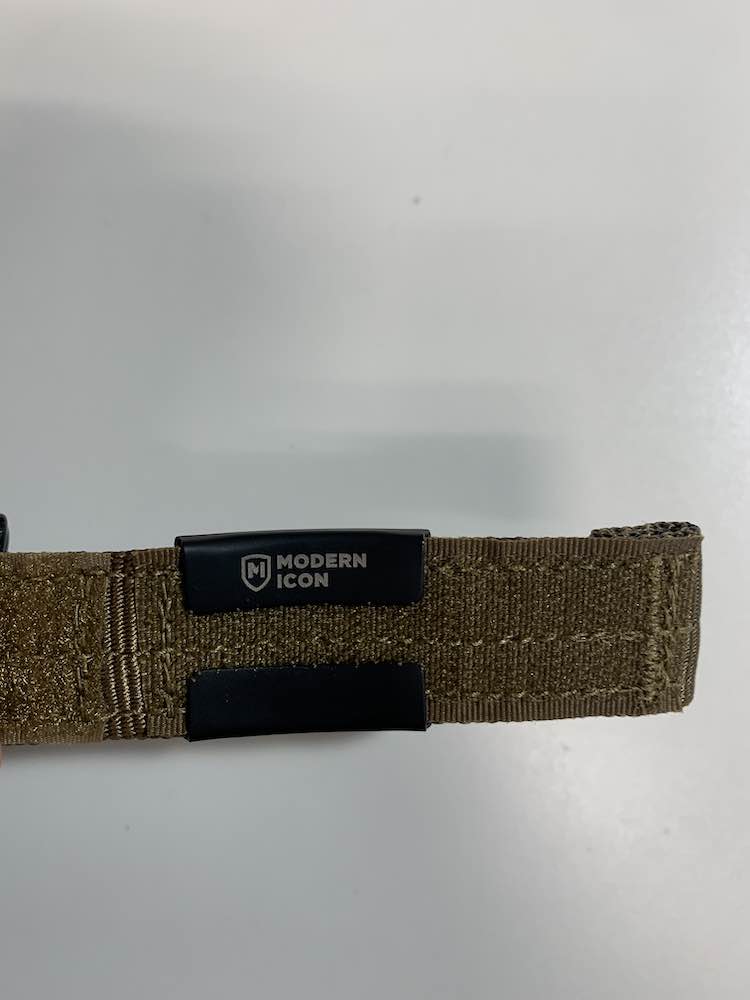
It is possible that the ID Plate may not be able to install here if you have a Fi GPS Module, OR if your collar features stitching in that area (specifically a “bartack”—just like the one to the right and left of the Modern Icon label), OR if the buckle is close to the Modern Icon label and there is not enough room—there have been subtitle iterations in the design overtime, so placement of the buckle and stitching may affect where the plate can go. If for one reason or another that location is not possible then you will want to install the plate on the adjustment strap on the opposite side of the collar, like this:

Regardless of the installation location, we recommend making sure there are at least 2 layers of webbing to mount the ID Plate. If mounting on the adjustment strap you may even be able to go over 3 layers of webbing, but having 2 layers will help secure the ID Plate. Also, because the 1″ Summit Collar does not feature the 1.5″ Backing material it is possible the back of the plate will come in contact with the dog’s fur. This is especially true if you mount the plate next to the buckle and may also happen if you mount on the adjustment strap, but if your adjustment strap has 3 layers of webbing you can mount to the first two and leave the last layer of webbing as protection. If the plate is in contact with the dog’s fur just monitor the area to make sure it is not rubbing. If it does please contact us to see if we can help relocate where it will not rub.
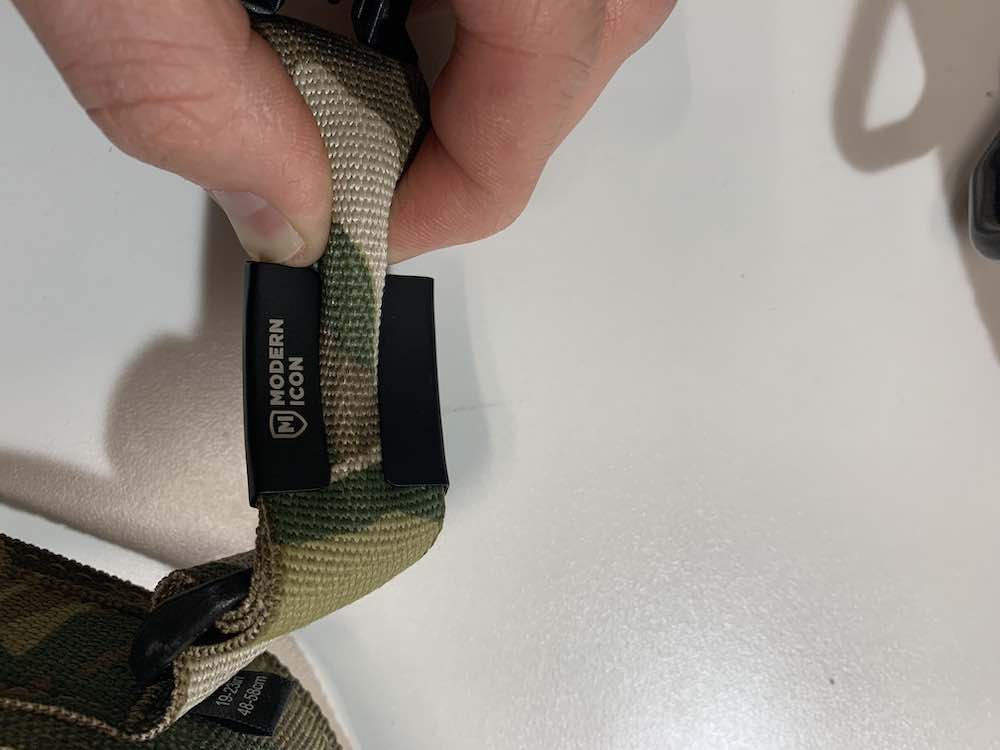
Mounting Process:
Step 1:
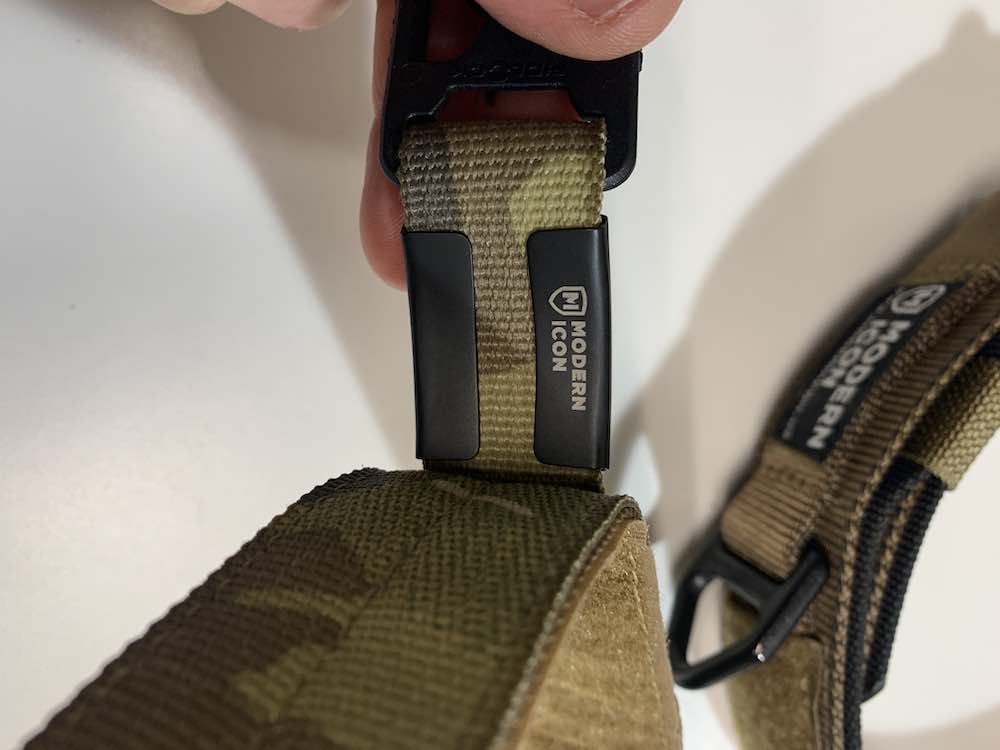
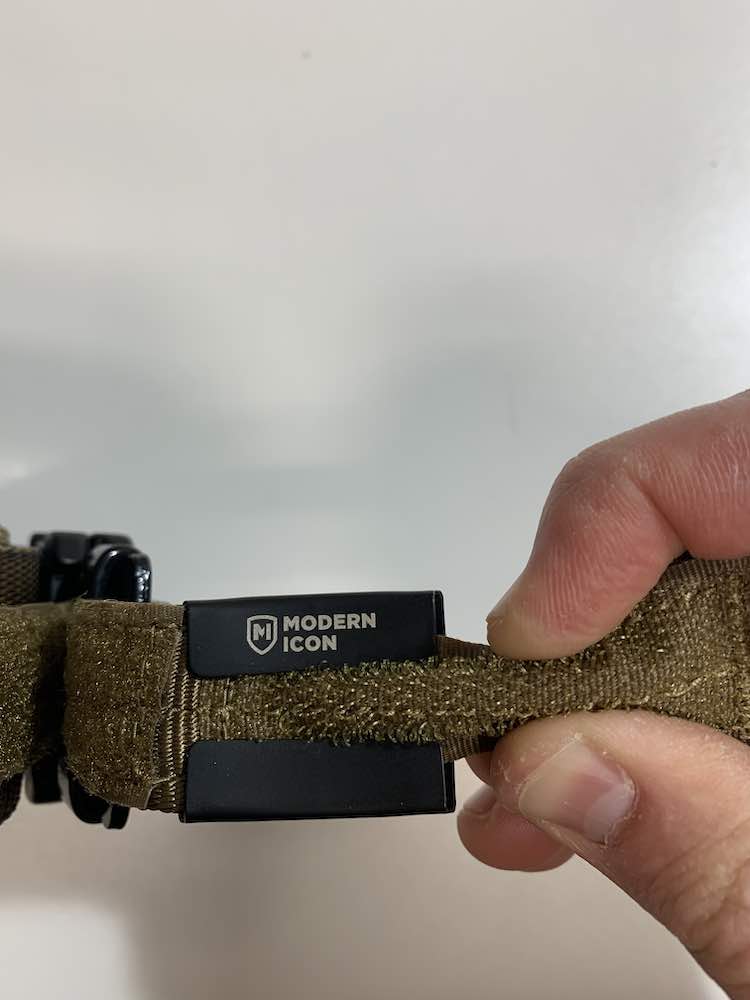
Unbuckle the collar and hook the bottom of the plate through 2-3 layers of webbing:
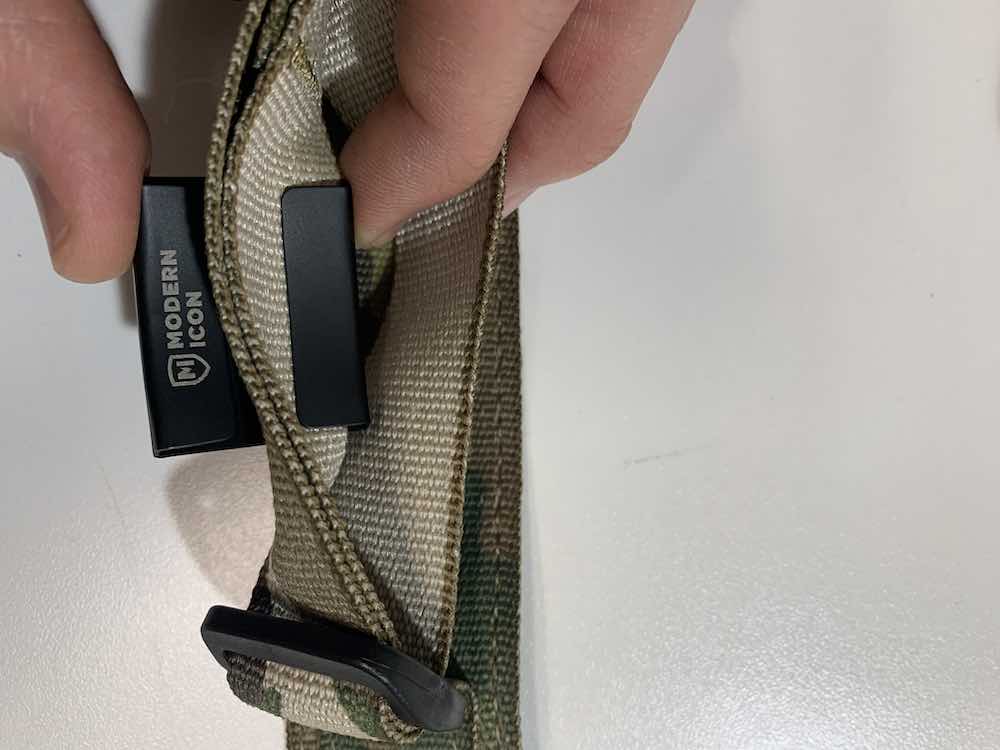
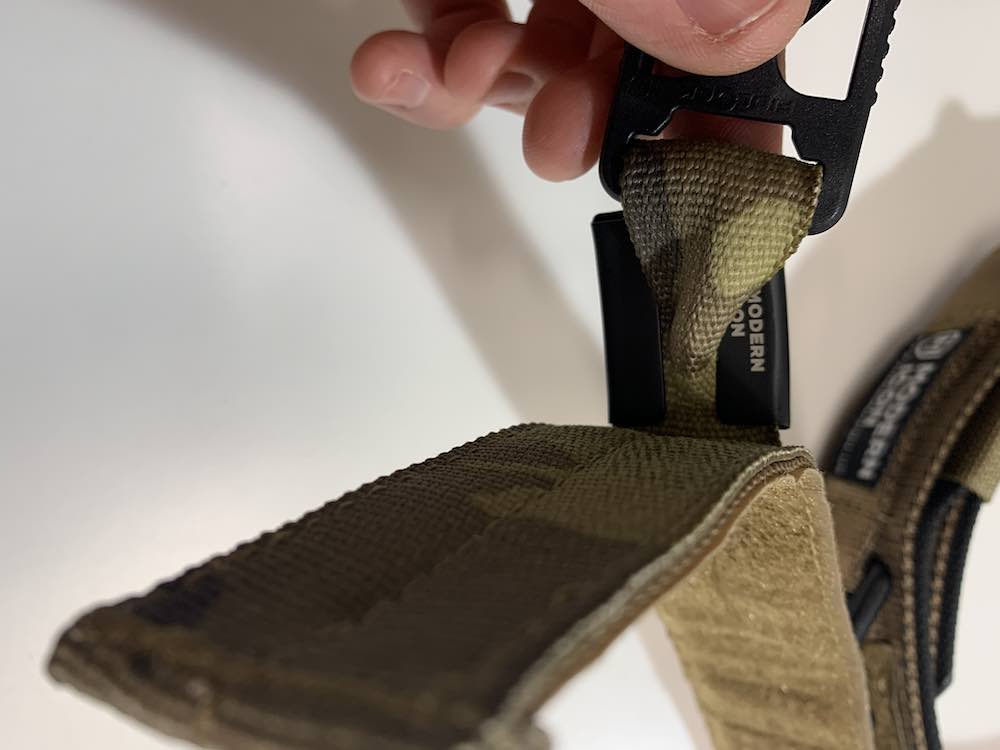
Step 2:
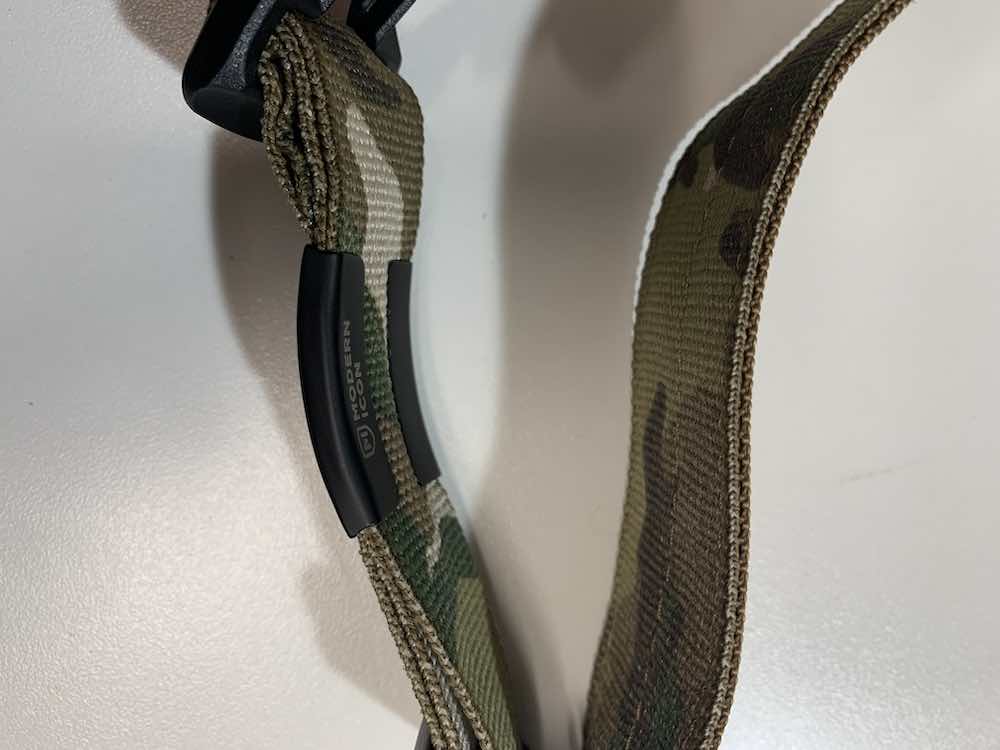
(Whether on the adjustment strap or next to the buckle) Push the top layers of webbing so they hook under the top of the plate. Generally you want the webbing to buckle (bump out) toward you so you have room to get the webbing under the top of the plate. At that point it should look like this:
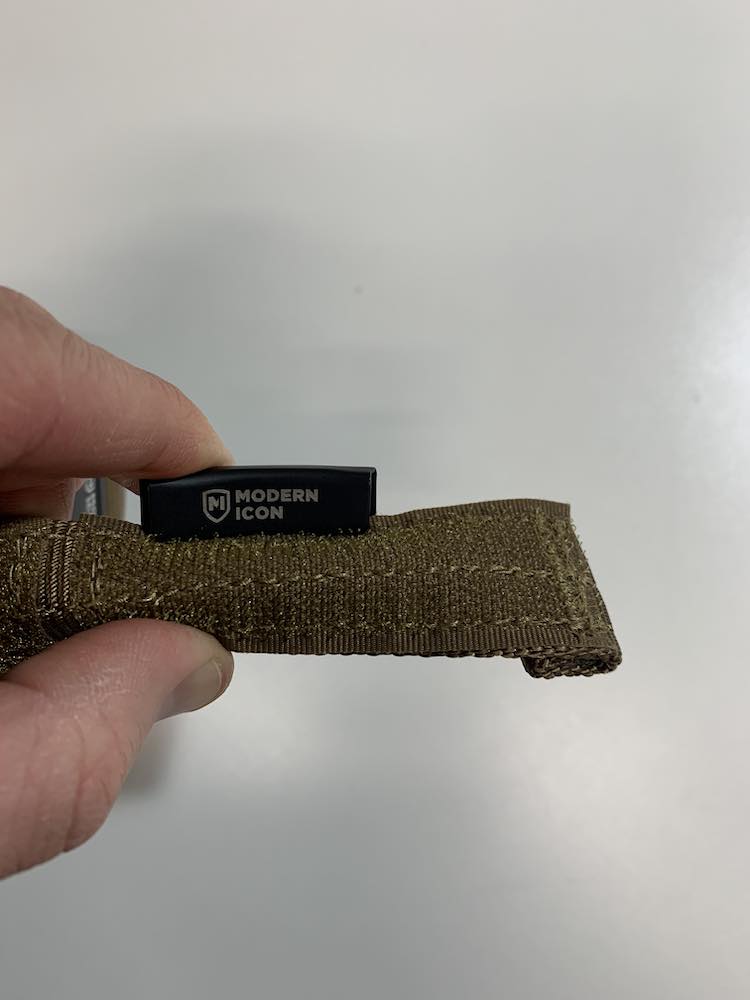
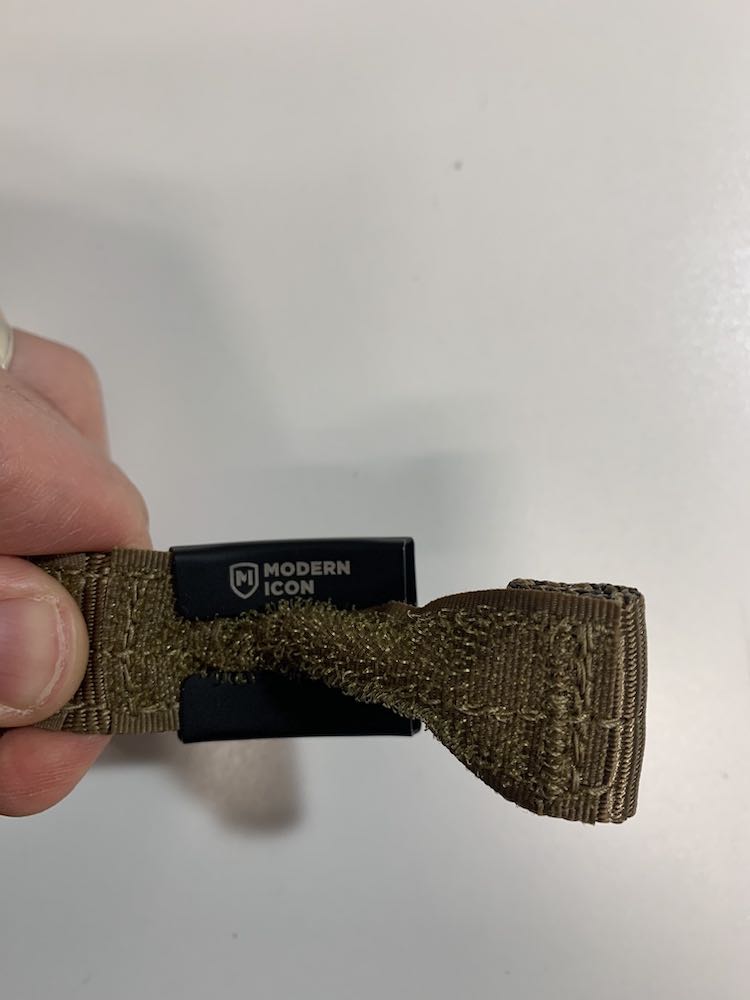
Here is a photo showing if you choose to do 3 layers of webbing (on the adjustment strap, if possible):
Removal Process:
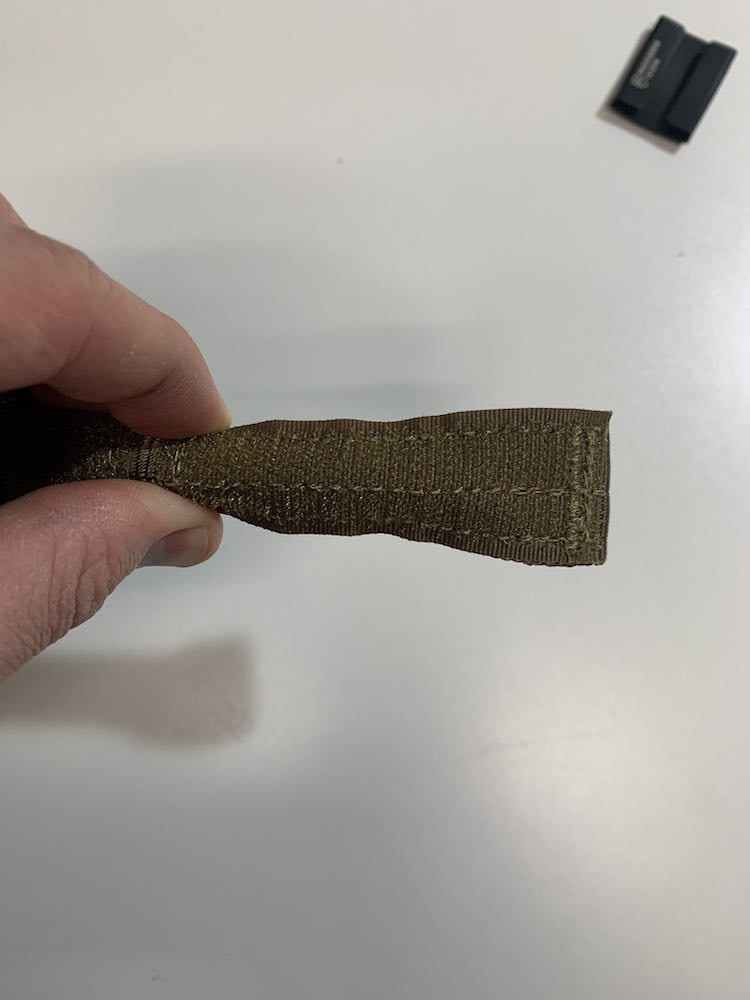
Step 1:
If you need to remove the plate it is easiest to pinch one side, so that the webbing buckles (bumps out) in the middle:
Step 2:
Now you can slide the plate toward the pinched area (bump out) and it should slide off the webbing.
1.5″ or 2″ Rigid Collars
If you have a 1.5″ or 2″ Rigid Collar you will install the plate on the hook portion of the adjustment strap like this:

If your collar is sized most of the way, or all the way out, you will install the plate on the loop portion of the adjustment strap:

(you may note how, since the collar is sized bigger, the loop portion is now exposed and the hook portion would be too small to install the plate)
Mounting Process:
Step 1:
Undo the hook and loop adjustment strap (so that it is not secured down) and pinch the webbing in the middle, so that buckles (bumps out). It is advisable to make sure you are at least an inch or more from the end of the adjustment strap:
Step 2:
Maintaining the pinch in the webbing, insert just the top of the strap into the top of the ID Plate (you are only inserting about 1/16″ of the strap, just make sure all the hook and/or loop is inside the top of the plate):
Step 3:
Repeat the process for the bottom of the strap (again, just make sure ~1/16 of the strap and the hook and/or loop is inside)
Step 4:
Push down on the middle of the webbing and the plate will settle onto the strap:
You can slide the plate into the position you prefer, just make sure that if you are sliding over where the loop attachment transitions to the hook attachment you do not catch and tear the hook or loop.
Removal Process:
Step 1:
If you need to remove the plate it is easiest to pinch one side, so that the webbing buckles (bumps out) in the middle:
Step 2:
Now slide the plate toward the pinched area (bump out) and it should slide off the webbing.
Important Notes:
If you would like the plate tighter against the webbing, so that it does not slip, you can try to put your thumb in the middle of the opening in the plate and push in. This should bend the top and bottom lip on the plate inward a bit. DO NOT use any tools to attempt to bend the plate—pliers or other tools will cause permanent defects on the plate.